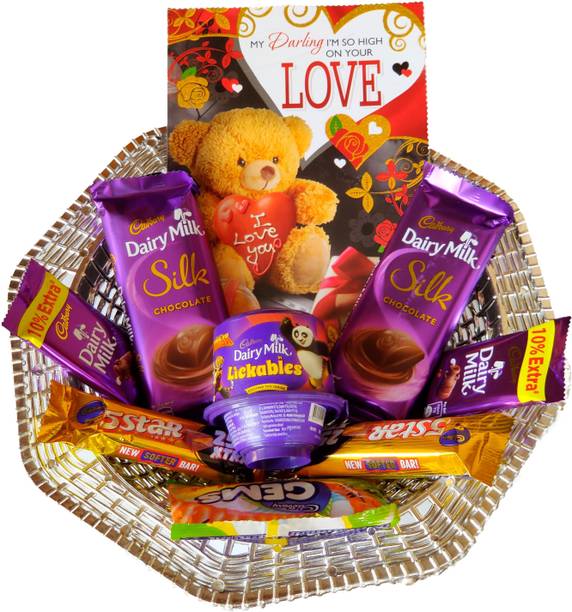
Imagine a beautifully arranged basket of pastries, chocolates, and a little box of artisanal tea. It’s the kind of gift that makes anyone’s face Party favors light up. But what if that basket could also double as a marketing tool, subtly reinforcing your brand’s identity? That’s where adding a corporate logo comes in. In this guide we’ll walk through the entire process—design, materials, attachment, and finishing touches—so you can create a dessert gift basket that’s as memorable as it is delicious.
Why Branding a Dessert Basket Matters
A dessert gift basket is more than a treat; it’s an experience. When you incorporate your corporate logo, you’re turning a simple gesture into a brand statement. Think of it as the icing on the cake—it enhances the overall presentation and leaves a lasting impression.
- Brand Recall: A visible logo on a sweet package keeps your company top of mind. Professional Image: It shows attention to detail and a commitment to quality. Conversation Starter: Guests will naturally ask about the source, giving you networking opportunities.
A Quick Anecdote
Last year, a client sent a dessert basket to a potential partner. https://www.instapaper.com/read/1958768750 The partner complimented the “little little brand mark on the box” and mentioned that it made the gift feel personalized. That single visual cue turned a generic thank‑you into a memorable partnership moment.
Choosing the Right Logo Placement
The placement of your logo can make or break its effectiveness. Consider the following sub‑factors:
Front vs. Side Placement
- Front: Most eye‑catching; ideal for large logos. Side: Subtle, but still visible when the basket is handled.
Size and Visibility
- Too Small: Gets lost in the design. Too Large: Overpowers the aesthetic.
Aim for a size that’s roughly 1/4 of the total visible area of the basket’s front face.
Color Harmony
- Contrast: A logo that contrasts with the background pops. Complement: Matching colors blend smoothly, giving a refined look.
> “Good design is not just what it looks like, but what it does.” – Steve Jobs
Materials and Tools You’ll Need
Before you start, gather these essentials. A well‑prepared kit saves time and reduces mistakes.
- High‑quality paper or cardstock for the logo template Laser printer or professional printing service Clear, durable adhesive (e.g., double‑sided tape, glue dots) Heat‑shrink film (if you’re using a heat‑activated logo) Precision scissors or a cutting machine Measuring tape or ruler for accurate placement Protective gloves (optional, for a clean finish)
Step‑by‑Step Process
With materials in hand, let’s dive into the actual application.
Designing the Logo
Create a vector version of your logo to maintain sharpness at any size. Adjust the color palette to match the basket’s color scheme. Add a subtle drop shadow if you want depth without compromising the logo’s integrity. li20li20/li21li21/ol2li22li22/li23li23/li24li24/li25li25/ol2/# Securing the Attachment- For heavier baskets, consider reinforcing the base with a thin layer of clear tape to keep the logo from shifting. If the basket will travel in a vehicle, wrap the logo area with a protective sleeve.
Finishing Touches and Quality Checks
After the logo is in place, ensure everything looks polished.
- Inspect for misalignment: The logo should sit centered and level. Check adhesion: Lightly press to confirm it’s secure. Add a protective layer: A thin sheet of clear film can guard against moisture or handling.
Remember, a logo that peels off after a single use defeats the purpose of branding.
Common Pitfalls and How to Avoid Them
Even seasoned designers can stumble. Here are the most frequent errors and how to sidestep them.
- Using low‑resolution images: Leads to pixelated logos. Always use vector files. Applying adhesive too thickly: Causes unevenness. A light touch is key. Choosing a color that blends into the background: The logo becomes invisible. Opt for contrast. Neglecting to test on a sample basket: Unforeseen issues arise. Always prototype first.
The Perfect Gift Awaits
Branding a dessert gift basket isn’t just about sticking a logo on a box; it’s about creating an experience that resonates with your audience. When executed thoughtfully, the logo becomes a subtle ambassador for your company—much like a well‑placed speck of spice that elevates an entire dish.
Think of your next corporate gift as an opportunity to combine culinary delight with strategic branding. By following the steps above, you’ll ensure that every bite comes with a reminder of who you are and what you stand for.
Ready to add that finishing touch to your next dessert basket? Gather your materials, design a crisp logo, and let your brand shine as brightly as the sugar crystals on a fresh pastry. Your recipients will thank you, and your business will thank you even more.